REQUIREMENTS:
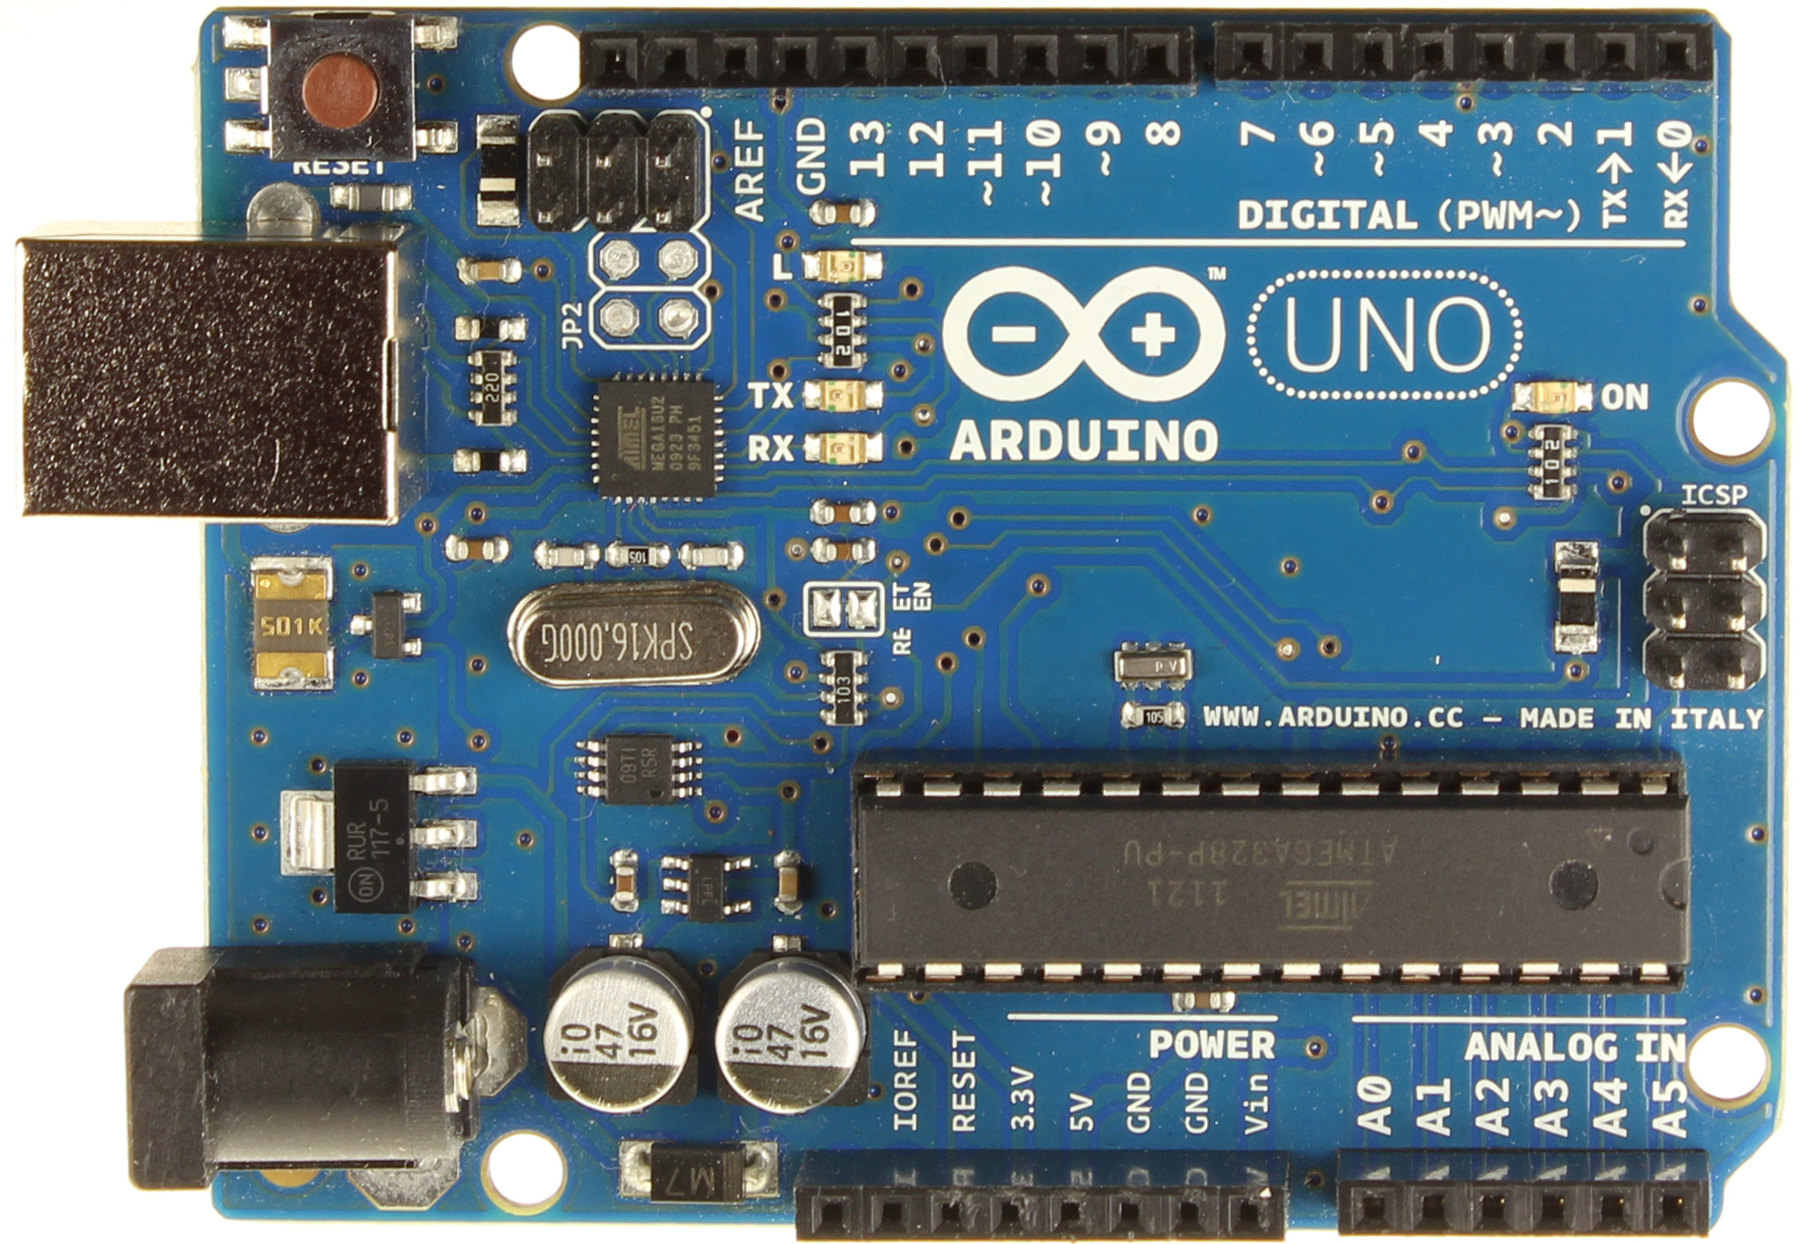
- Arduino UNO
- USB cable

- Download the compiler (environment) from Arduino environment and install it
- Connect the board to the computer using the cable.
- The green power (labeled PWR) should go on.this is a indication that the board is working
- Next you need to install drivers.
- Open "DEVICE MANAGER" of your computer.
- Look under "OTHER DEVICES" for "UNKNOWN DEVICES".
- Click on "UNKNOWN DEVICES" and click update driver software.
- Next choose "BROWSE MY COMPUTER FOR DRIVER SOFTWARE" option.
- Finally navigate to and select the driver file named "arduino.inf",located in the "Drivers" folder of the Arduino Software download. If you cant find the file simple choose the "driver folder" and press OK.
- Now your computer will update itself.
STEPS TO SET COMPILER AND RUNNING FIRST TIME CODES:
- Open compiler (arduino.exe) while the board is connected
- At the top you will find a option called tools.
- Open tools> board > UNO (your model if its mega select mega and so on).
- Again open tools> serial Port > select com(for me its com6) check yours from (device manager> PORTS(COM & LTP) >ARDUINO UNO.
- NOW OPEN file>examples>1.basics>blink from the compiler (environment)
- NOW PRESS upload option from the environment in few seconds u will find a orange light (blinking) at the pin 13.
NOW YOUR SYSTEM (BOARD AND COMPUTER) IS READY TO RUN THE ARDUINO.
reference: arduino.cc
No comments:
Post a Comment